Client Offboarding Guide: How to End Projects Professionally and Add Extra Value

My Client Offboarding Process (and Why You Need One Too)
Most designers pour energy into onboarding and delivering beautiful work—but what happens after the final file is sent?
That’s where offboarding comes in. A great client offboarding process helps wrap up the project professionally, answers any lingering questions, adds extra value, and sets the stage for referrals, repeat business, and glowing testimonials.
Here’s what I include in my offboarding guide to leave clients with clarity, confidence, and a seamless experience—even after the work is done.
Why Offboarding Matters
When I wrap up client projects, I like to provide an offboarding guide. It’s my way of thanking the client, sharing important post-project info, and making sure they have everything they need without having to chase it down.
It reduces follow-up questions, avoids file confusion, and shows you're thoughtful, professional, and detail-oriented. Plus—it’s a great way to prompt testimonials and additional work.
What to Include in Your Offboarding Guide
Your offboarding guide should be more than a polite thank-you—it should serve as a final client resource hub, empowering them to confidently use the assets you created while planting seeds for future collaboration.
Here’s everything I include:
1. Intro & Overview
This section sets the tone and gives the document structure. It's your chance to thank your client personally and remind them that you're available if they have questions post-project.
Include:
Title Page – Make it clean and branded.
Personal Thank You Note – Use their name and a sentence about what made the project special.
Contact Info – Make it easy for them to reach out again.
Contents Page – Helps them easily find key sections if they come back to the PDF later.
2. File Access
Clients often get overwhelmed by final files. This section makes it crystal clear where everything is and what it’s for—minimising post-project emails and giving them confidence.
Include:
File Storage Location – Dropbox, Google Drive, or Notion links.
Filing Structure Overview – A visual breakdown or screenshot of the folder system helps immensely.
Expiry Dates or Access Terms – Let them know how long files will be available and if they should download them.
3. Terms & File Types
Design terminology can be a blocker for clients. Clarify terms and empower them with just enough knowledge to use their new brand assets confidently.
Include:
Glossary of Common File Types – (e.g. EPS, PDF, SVG, PNG) with descriptions.
When & Where to Use Each File Type – e.g. “Use this for Instagram posts, use the EPS for signage.”
Common Design Terms – Define terms like "vector", "CMYK", or "white space" that may appear in your file names or guide.
4. Referral Program
If you offer one, this is prime real estate to encourage referrals from clients who are thrilled with your work.
Include:
Program Overview – Keep it simple and clear.
What They’ll Receive – A discount? Bonus service? A free audit?
How to Refer – A link, form, or quick message template they can send.
5. Other Offerings
Your client just finished a great project—strike while the iron’s hot. This section introduces them to more ways they can work with you.
Include:
Service Menu or Price Guide Highlights – Focus on complementary services (e.g. template design after branding).
Popular Packages – Showcase what others buy next.
Add-On Asset Options – Like brand templates, social media kits, or print collateral.
6. Tools & Resources
This shows your client that you’ve thought of their success even beyond your scope of work. It's a great way to differentiate yourself.
Include:
How-To Guides or Loom Tutorials – Show them how to open/edit/use certain files.
Recommended Platforms/Apps – Like Canva, Adobe Express, or brand asset management tools.
Educational Links – A blog post or video series they might find useful now that they have their new brand.
Bonus: Feedback Request
While not a formal section, adding a short nudge for a testimonial is powerful.
Include:
A single sentence like: “If you enjoyed working together, I’d love if you left a short testimonial or review here [insert link].”
Or prompt with 2-3 questions:
What was your favourite part of the process?
How do you feel about the final result?
Would you recommend me to others?
Wanna Grab My Offboarding Template?
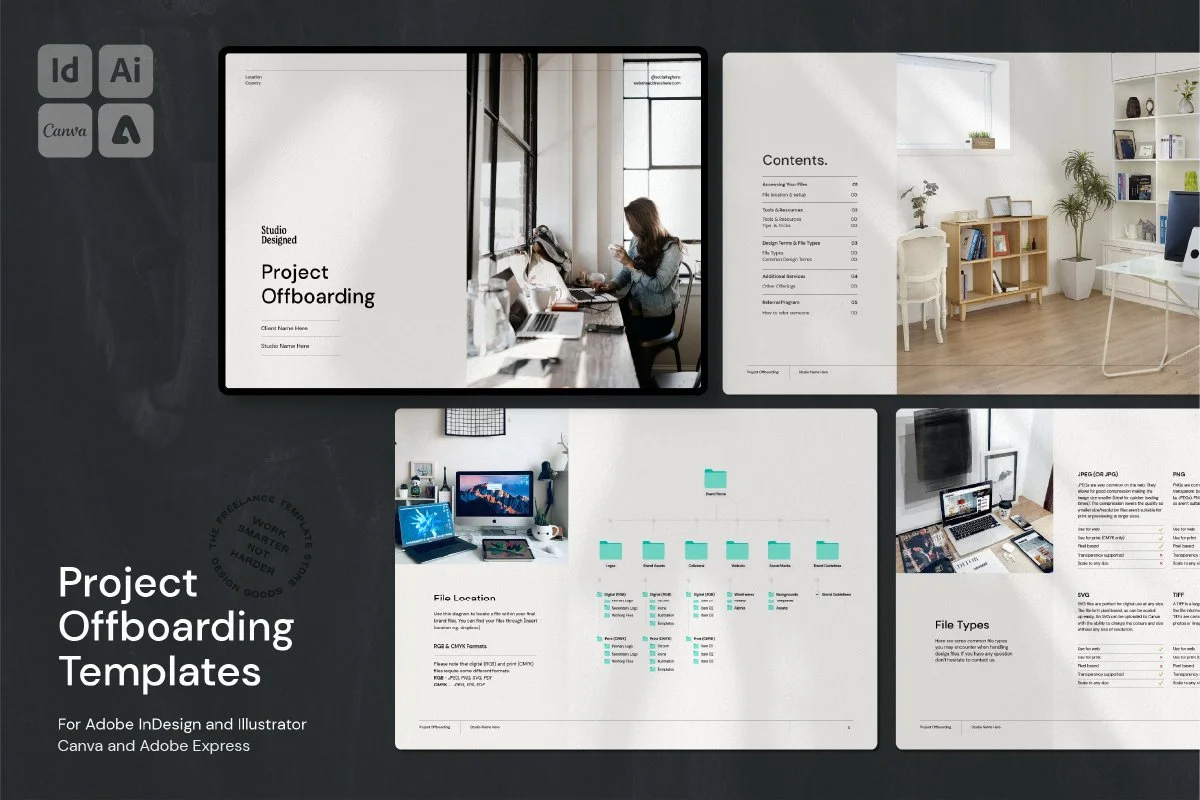
You can grab my Project Offboarding Template for Adobe InDesign and Illustrator below! It’s filled with pre-written sections, helpful prompts, and a clean layout—so you can deliver your project handoffs with polish and confidence. It even includes bonus email templates and client feedback questions!
End Every Project on a High Note with a Professional Offboarding Guide
Finish your design projects with polish, professionalism, and ease using the Client Offboarding Guide Template.
Designed for freelance designers and creative studios, this offboarding kit helps you deliver final files, gather client feedback, encourage referrals, and leave a lasting positive impression.
Fully editable in Adobe InDesign, Illustrator, Canva, and Adobe Express, it's packed with done-for-you layouts, email templates, feedback forms, and resource guides — everything you need to complete the client journey seamlessly.
What’s Included:
✔ 16 professionally designed pages (A4 size — 297mm x 210mm, RGB)
✔ Fully customizable sections:
Accessing Your Files — Help clients understand and access their final brand assets
Tools & Resources — Share recommended platforms and guides for continued success
Design Terms & File Types — Educate clients on file formats and usage
Additional Services — Promote future opportunities for working together
Referral Program — Encourage clients to recommend you to others
✔ Bonus Templates:
3 Pre-written Client Offboarding Emails (for different client scenarios)
Feedback & Testimonial Questions PDF
Preview PDF for quick reference
✔ Links to access the Canva and Adobe Express versions
✔ Compatible with Adobe Illustrator and InDesign 2023 (Adobe Creative Cloud users, please ensure your app is updated)
Key Features:
Fully customizable across Adobe Illustrator, InDesign, Canva, and Adobe Express
Editable email templates and testimonial forms for easy communication
Client education sections to minimize future questions and support brand success
Additional services and referral prompts to drive repeat work and word-of-mouth marketing
Professionally structured layouts with alternate cover design options
Based on real-world design agency workflows
Perfect For:
Freelance brand designers and web designers
Creative studios offering design or brand services
Service providers who want to complete projects with a premium client experience
Designers looking to build client loyalty and future referrals
Why You’ll Love It:
The Project Offboarding Guide Template doesn’t just close out your projects — it opens the door to repeat clients, glowing testimonials, and lasting business relationships.
Delivering final files doesn’t have to feel rushed or awkward. Make it easy, clear, and memorable.
Final Thoughts
Ending a project shouldn’t mean the end of your client experience. With a thoughtful offboarding guide, you can leave a lasting impression, provide continued support, and set yourself up for long-term success through referrals and repeat work. A little effort here goes a long way.
Want More Time-Saving Tools and Freebies?


This process is just one of the techniques I share across my design templates and digital assets, made especially for designers who want professional results—without starting from scratch every time.